
 INSTALLATION OF INDOOR PLAYGROUND
We constantly save cost for our clients by make the installation process as easier as possible. For indoor playground (play structures) bigger than 120m2 and 4.5m high, installation will be done by our technician, we has dedicated, well-trained team who have the skills and knowledge to execute the installation, A proper installation is important for kids playground, have to consider safety, longevity and appearance... For smaller indoor play structures, buyer also can do the installation with our 3D installation diagram. We guarantee the installation details as clear as possible and immediately response during the installation if get any problem by Skype, phone, Whatsapp and email!
Second,we will take photos and send to our clients before residual payment. Third, we will mark numbers on parts then make 3D installation diagram, Number on 3D diagram match with components.
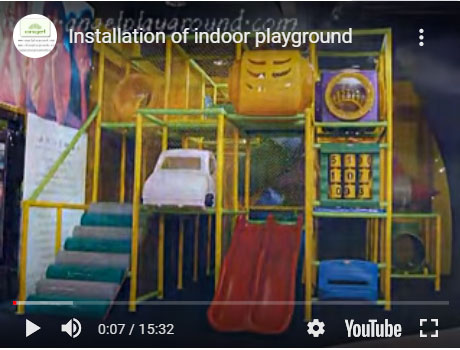
Check Example Video Here
More details information please send us email!
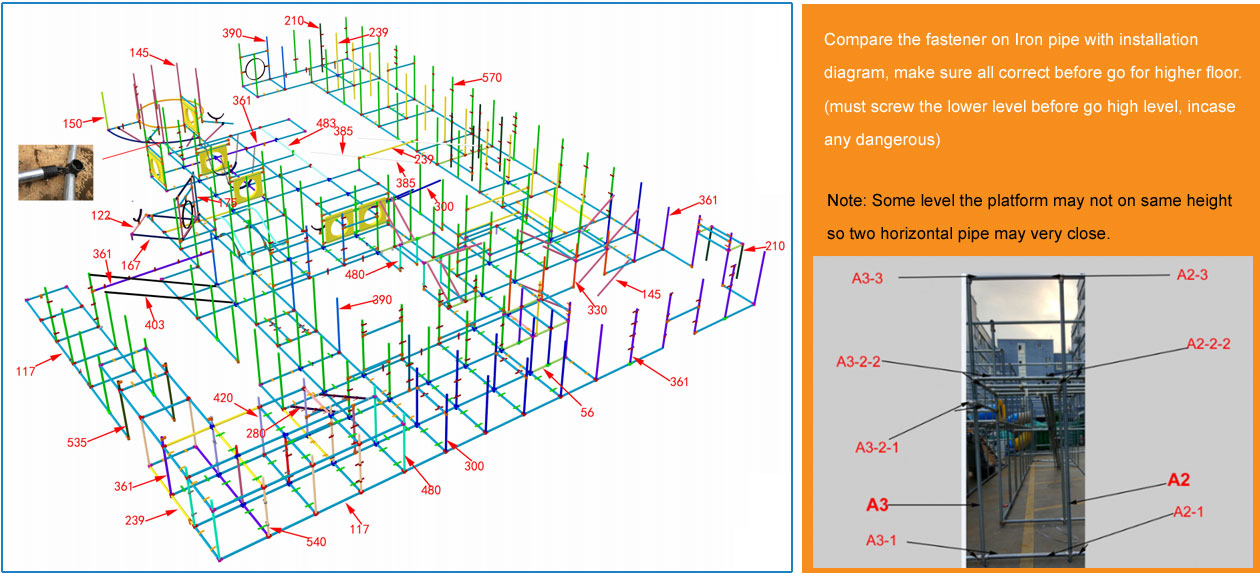
 Assemble the frame
1, For example if the playground have three floor, you need to clean the place and put the EVA mat on floor first! If only two floor, you can assemble the frame first
then lift the frame and put the EVA mat on floor. If we send you soft pad not EVA mat, You have to put the soft pad when install first floor frame.
Do the installation one floor by one floor, (floor one, floor two...). Start with the vertical pipe.
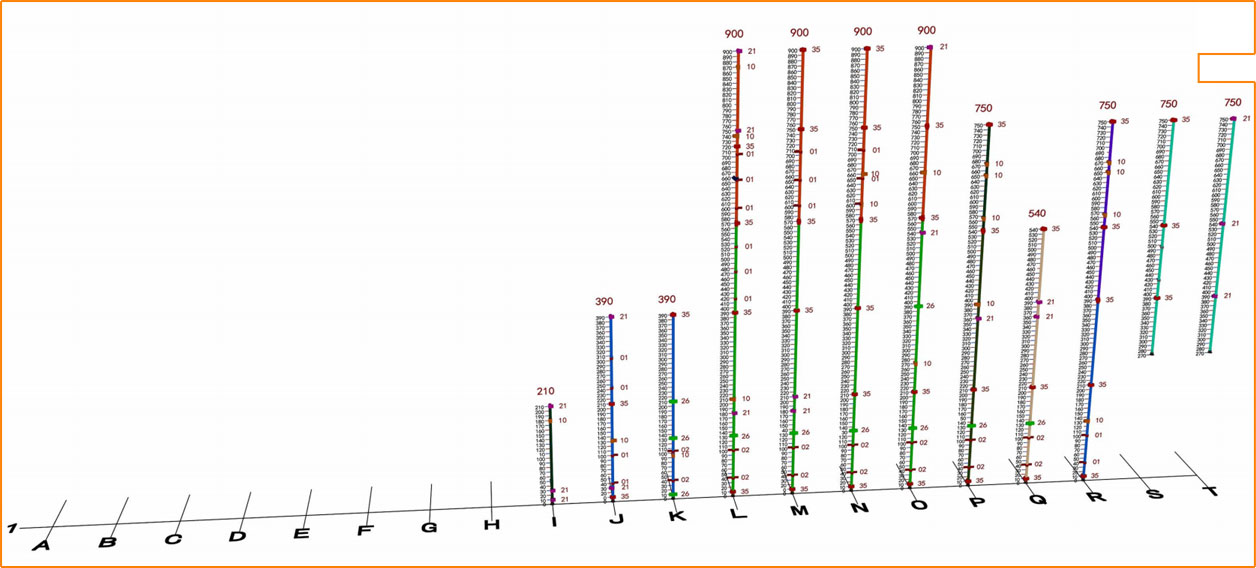
2, We have marked numbers A1, A2.... B1, B2... at insallation diagram, find all vertical pipe by number and height, (vertical pipe will not cut according to install diagram
(Each vertical pipe have a metal foot platform under it) (Need put all fastener on vertical pipe before assemble horizontal pipe)
Most of horizontal pipe are on size 117cm, that mean no need to find the one between A1 and A2 or A1 and B1, pipe with same length will be fine.
(make sure the fastener for holding platform on horizontal pipe before join to vertical pipe)
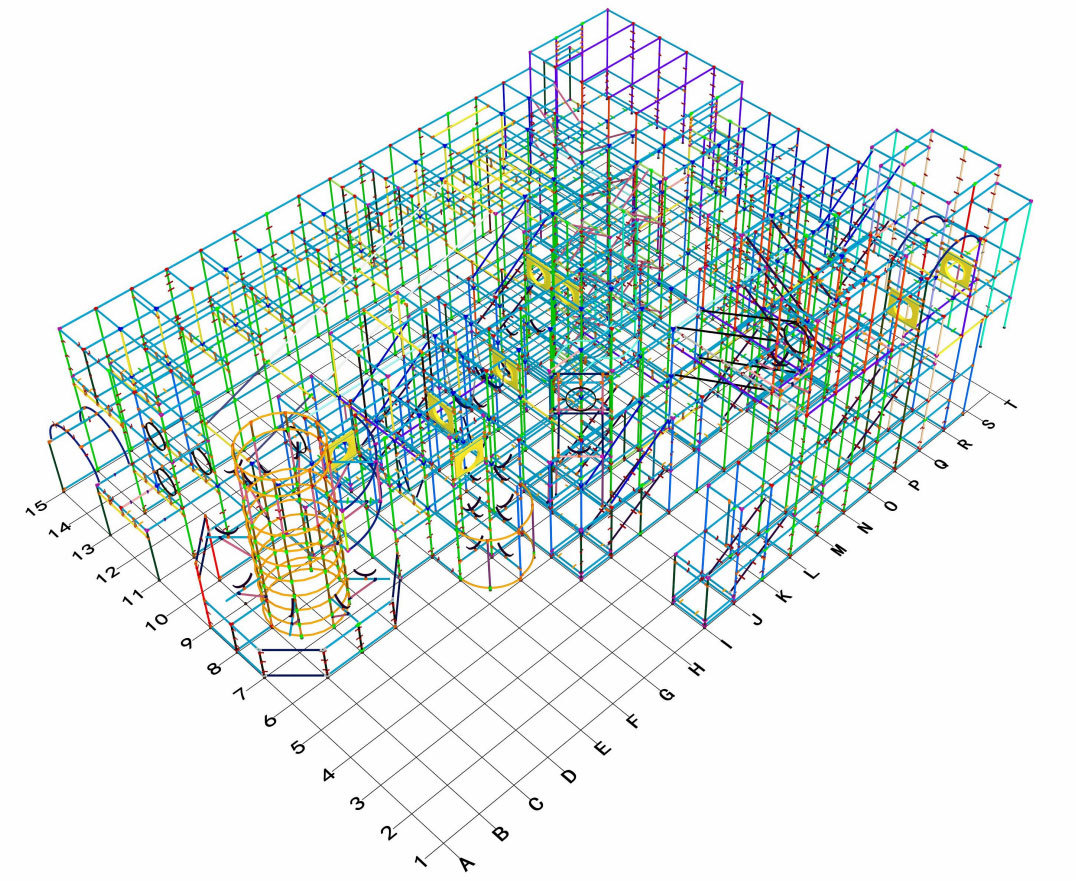
3, Join horizontal pipe with (vertical pipe from first floor) by (Fastener on vertical pipe from step 2)
Pay attention to the color of installation diagram, There are few kinds of fastener.
On installation diagram have show each fastener by color, ( same color mean same fastener)
 Assemble Accessory like slide, bridge, tunnel...
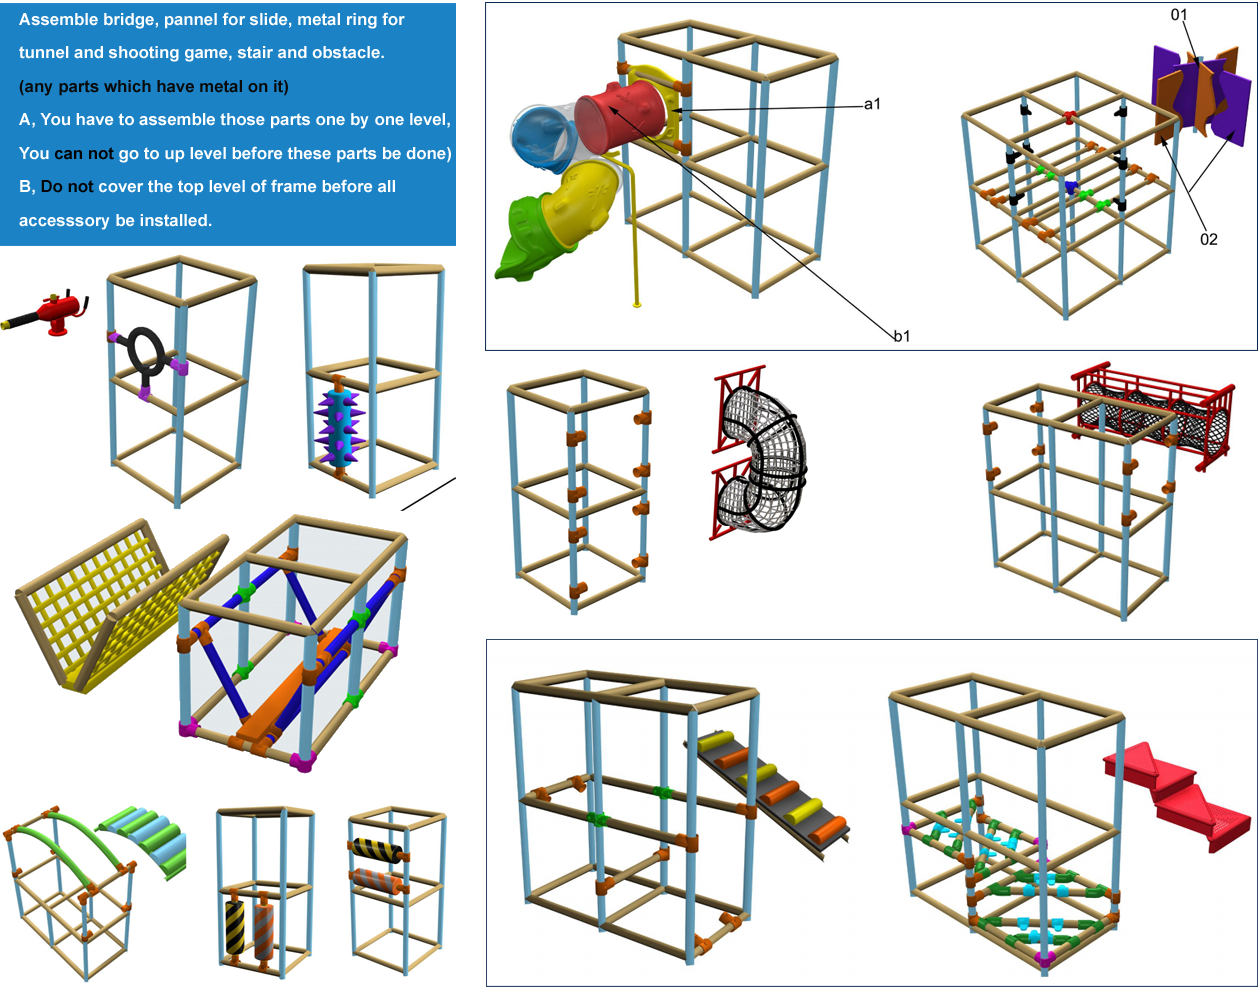
Warning: You may waste lot of time if not install these parts concurrently with frame (What we show here just example, more details please make contact to your sales consultant.
 Assemble Accessory like slide, bridge, tunnel...
Cover all iron pipe with PVC cover, Installation done!
If you have shooting games, ball washing machine or other equipment does not show here, Leave us message.


